How to write in cursive
Cursive is easier than it looks once you know that every letter is made from four strokes and that the letters are best learned in families, not from A to Z. This guide takes a beginner, child or adult, from holding the pencil to writing joined words, with free practice sheets for every step.
1. Pencil grip and paper position
Hold the pencil between the thumb and index finger, resting on the middle finger, about an inch above the point. The grip should be loose enough that someone could pull the pencil out of your hand. A tight grip is the number one cause of tired hands and shaky letters.
Tilt the paper about 30 degrees: top edge to the left for right-handers, to the right for left-handers. The natural slant of cursive comes from the paper angle, not from bending the wrist. Left-handers should keep the hand below the writing line so it does not cover the word being written.
2. The three writing lines
Cursive is taught on three-line paper. Every letter has a place on it:
- Short letters (a, c, e, i, m, n, o, r, s, u, v, w, x) fill the space between the baseline and the dashed midline.
- Tall letters (b, d, f, h, k, l, t and all capitals) reach the top line. The t stops just short of it.
- Descenders (f, g, j, p, q, y, z) drop below the baseline into the space before the next row.
Download blank three-line handwriting paper in four rulings. Adults relearning cursive: there is a four-week plan for adults. Teachers: see teaching cursive.
3. The four basic strokes
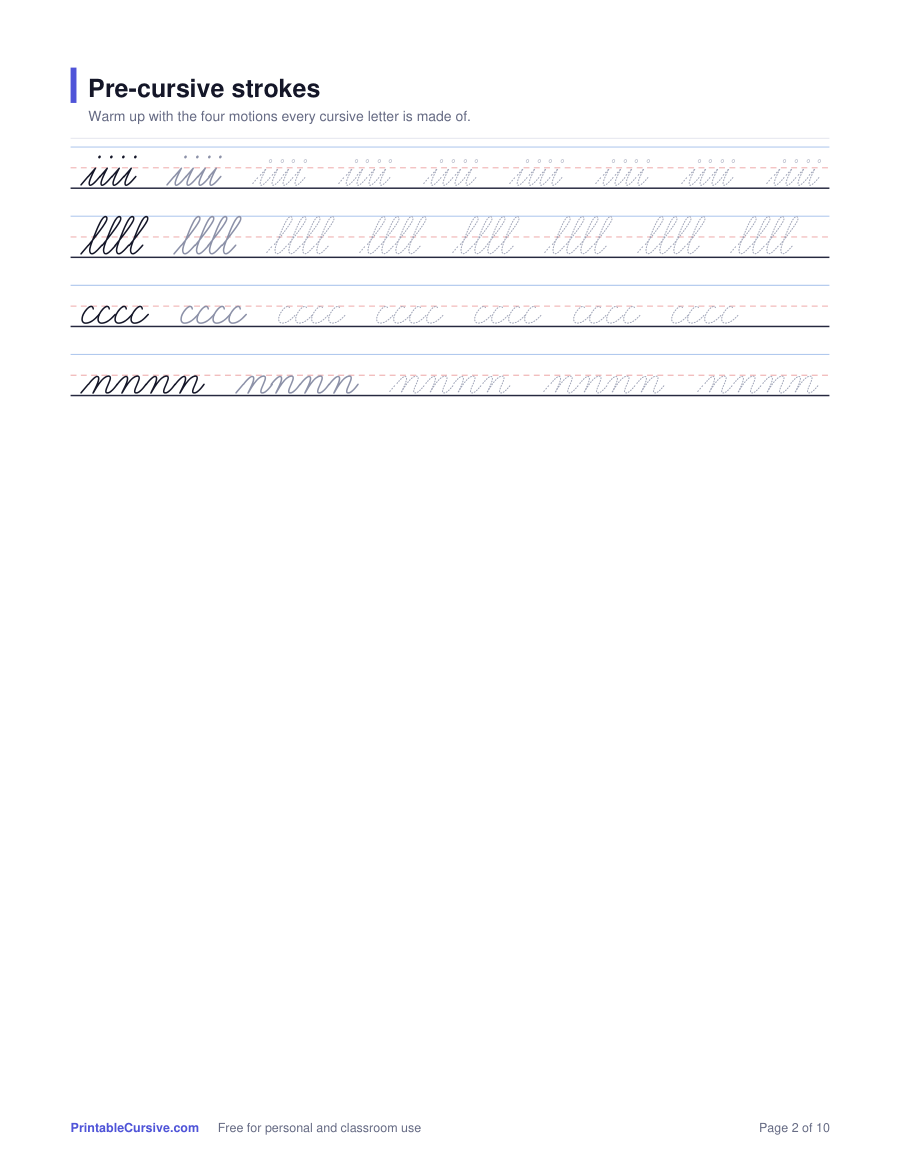
Every lowercase cursive letter is a combination of four strokes. Practice each one as a row of repeats before you write a single letter; it is the fastest way to a steady hand.
Undercurve
A swing up from the baseline, like the start of i, u, w, t, e and l. The most common stroke in cursive.
Overcurve
A swing over the top, like the start of n, m, v, x, y and z.
Downcurve
A curve around to the left that closes an oval, like the start of a, c, d, g, o and q.
Slant stroke
The straight pull down to the baseline that appears in nearly every letter. Keep every slant stroke at the same angle.
4. What order to learn the cursive letters
Learn by stroke family. Letters that start the same way reinforce each other, and the first family already lets a child write real words.
- 1
Undercurve letters i t u w e l
They are short, similar, and all start the same way. Most children can write "it", "tie" and "lit" by the end of the first week.
- 2
Oval letters a c d g o q
Master the a first; the other five are variations on it.
- 3
Overcurve letters n m v x y z
The n and m are the models; v, x, y and z add a bridge or a tail.
- 4
The tricky six r s f k j p b
These look least like print and need the most repetition. Take them one at a time.
- 5
Capitals C O U P then the rest
Start with capitals that resemble their print form, then the loop capitals (L, E, G), then the fourteen that stand alone (B, D, F, G, I, L, O, P, Q, S, T, V, W, X).
Each letter has its own page with stroke-by-stroke instructions. Start with cursive i, or browse the cursive alphabet.
5. How to join cursive letters
The exit stroke of one letter is the entry stroke of the next. There are only two kinds of join:
Baseline joins
Most letters end on the baseline with an upward stroke, and the next letter starts from there. This is the normal case.
Bridge joins
Four letters, b, o, v and w, end at the midline. The next letter starts from the top, so "on" and "we" look different from "an" and "ne".
Keep the pencil on the paper from the first letter of a word to the last. Dots on i and j, the cross on t and the second stroke of x are added once the word is finished. Page 5 of the practice sheets is devoted to the most common joins.
6. Capital letters
Capitals come last because they are used far less often. In Zaner-Bloser cursive, twelve join the next letter (A, C, E, H, J, K, M, N, R, U, Y and Z) and fourteen stand alone (B, D, F, G, I, L, O, P, Q, S, T, V, W and X). After a standalone capital, lift the pencil and start the next letter on the baseline.
The easiest capitals look like their print forms: C, O, U, P, then A and M. The hardest are the ones with nothing in common with print: G, Q, S and Z. These are the Zaner-Bloser forms; D'Nealian simplifies a few of them.
Common mistakes when learning cursive
- Learning A to Z. The alphabet order mixes easy and hard letters. Learn by family instead.
- Lifting the pencil inside a word. It is a habit from print. Add dots and crosses at the end.
- Inconsistent slant. Fix the paper angle rather than the wrist.
- Short letters that are too tall. The dashed midline is a ceiling for a, c, e, m, n, o and the rest.
- Skipping tracing. Tracing dashed letters before copying is what builds the motion.
- Long, rare sessions. Ten minutes a day beats an hour on Saturday.
7. A practice plan and the sheets to use
- Days 1 to 3: the four strokes and the undercurve letters. Use the starter pack below.
- Week 2: the oval and overcurve letters, one one-letter worksheet per day.
- Week 3: the tricky six, then the joins page and cursive words.
- Week 4: capitals and sentences, then free writing on blank paper.
First year cursive starter pack
10 pages · US Letter, prints on A4 · free
Strokes, letters by family, first words and first sentences. The best single download for a beginner.

Cursive practice sheets
8 pages · US Letter, prints on A4 · free
All letters, joins, words and sentences for daily repetition.
Questions about writing in cursive
How long does it take to learn to write in cursive?
With ten to fifteen minutes of practice a day, most children write the full lowercase alphabet in four to six weeks and join words comfortably after two or three months. Adults usually learn faster because their fine motor control is already developed.
At what age should a child learn cursive?
Most US schools that teach cursive introduce it in second or third grade, around age 7 to 9, after print handwriting is fluent. There is no harm in starting earlier with tracing if the child is interested.
Which cursive style should I learn?
For a US student, the standard school cursive (Zaner-Bloser style, the one used on this site) or D'Nealian. They differ in small details, mostly slant and a few capitals. Learn one and stick with it; switching between styles is what causes messy handwriting.
Should I lift the pencil between letters?
Inside a word, no. Cursive letters join, and the pencil stays on the paper from the first letter to the last. Dots on i and j and the cross on t and x are added after the word is finished.
What paper should I use to practice cursive?
Three-line handwriting paper: a top line, a dashed midline and a baseline. It shows exactly where tall letters, short letters and descenders should reach. You can download it free in four rulings on this site.