First year cursive
A structured set of free printables for the first year of cursive, for a child at home or at school, or an adult learning from scratch. The path runs from the first pencil strokes to a full sentence, in the standard school cursive style, one stage at a time.
The starter pack
First year cursive starter pack, 10 pages
10 pages · US Letter, prints on A4 · free
Pre-cursive strokes, the lowercase letters grouped by stroke family, the tricky letters, both halves of the capital alphabet, first words and first sentences. Everything a beginner needs for the first month.
The first year in five stages
- 1
Stage 1: pre-cursive strokes
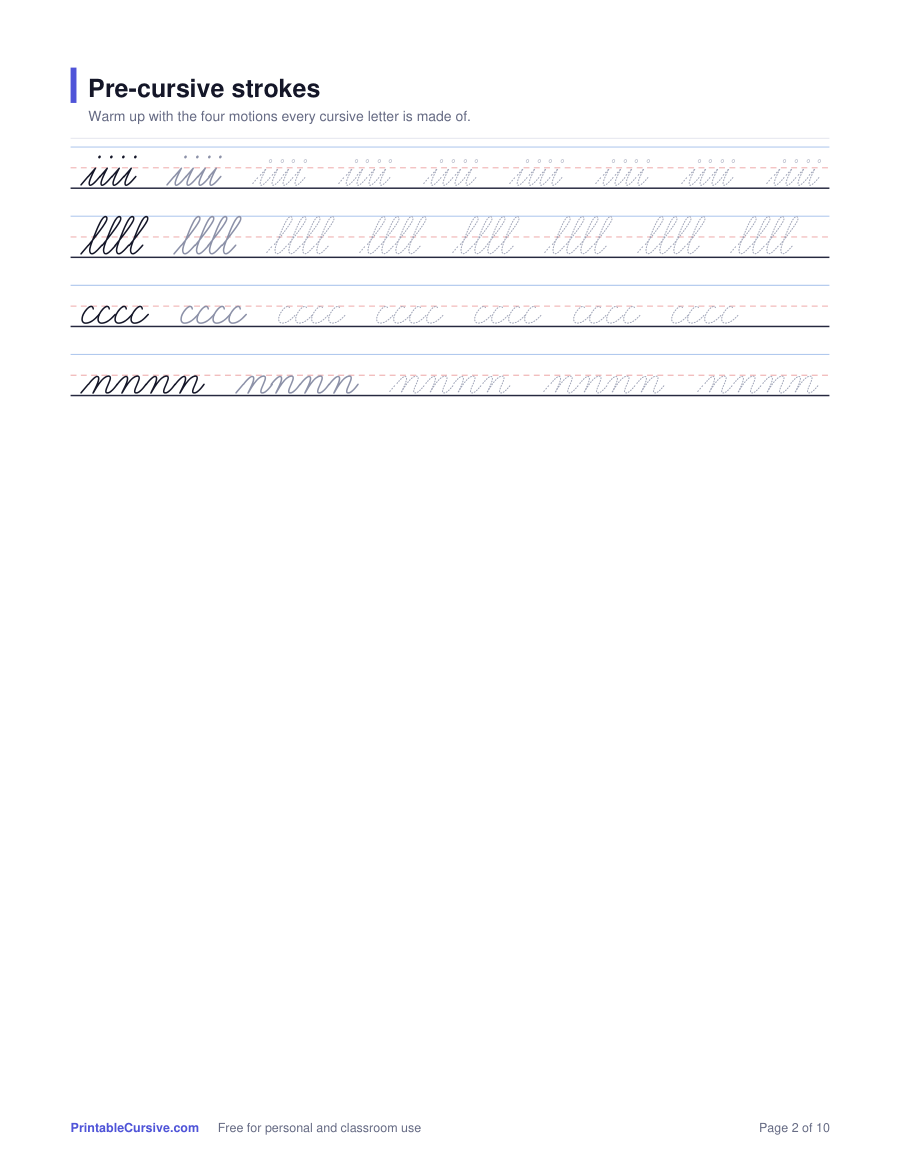
Rows of undercurves, overcurves, ovals and slant strokes. This is where the hand learns the motions before it learns the letters.
See the four strokes → - 2
Stage 2: lowercase letters by family
Undercurve letters (i, t, u, w, e, l), then ovals (a, c, d, g, o, q), then overcurves (n, m, v, x, y, z), then the tricky six.
Letter pages and worksheets → - 3
Stage 3: joining letters
Two-letter pairs and the bridge joins after b, o, v and w.
Practice sheets, page 5 → - 4
- 5
Stage 5: capitals and sentences
Capital letters, then short sentences with a capital and a period.
Cursive sentences →
First year cursive practice set

First year cursive words and sentences
4 pages · US Letter, prints on A4 · free
Nine beginner phrases such as 'I can do it', 'Hello world' and 'Read a book', each with a solid model, a dashed line to trace and a blank line to write.
Who this is for
- Children aged 7 to 9 starting cursive in second or third grade
- Homeschool parents who want a clear order to teach the letters in
- Teachers introducing cursive to a class
- Adults who never learned cursive or want to relearn it
Letter-by-letter worksheets
Each letter has a page with the strokes explained and a one-page worksheet. Start with the lowercase form of each.
Tips for the first year
- Short daily sessions. Ten to fifteen minutes a day builds fluency faster than a long weekly session.
- Three-line paper, always. The dashed midline is what teaches the difference between short and tall letters.
- Shape before speed. Speed arrives on its own once the motion is automatic.
- Trace, copy, then write. Every sheet on this site is built on that progression.
- Keep the first page. Comparing week one with week six is the best motivation there is.